Okta Provisioning Configuration Guide
by Andrew Stevens

Configuring Okta Provisioning for Vivantio ITSM
This guide will help you configure Okta Provisioning for Vivantio ITSM. If you're looking for instructions on setting up Single Sign On, please refer to Setting up Single Sign On with Okta.Features
The following provisioning features are supported:- Create Contact
When a new user is created in Okta, a Contact will be created in Vivantio - Update Contact
When a user is updated in Okta, the corresponding contact in Vivantio will be updated - Deactivate Contact
When a user is removed from Okta, the corresponding contact in Vivantio will be disabled
Requirements / Limitations
Okta provisioning is available in both Vivantio Pro and Vivantio ITSM. No configuration is required within Vivantio. However, please note the following requirements / limitations:- Provisioning is available for Contacts only, not Technicians
- Only basic attributes (name, email, and phone number) can be provisioned (Support for custom attributes will introduced in a future release)
- Okta provisioning is currently only supported when Client Management is not enabled within Vivantio (Support for client management will be introduced in a future release)
- Configuring multiple Okta tenants to provision to a single Vivantio tenant is not supported (This will be made available in a future release)
- Vivantio supports provisioning from Okta to Vivantio only - there are no plans to introduce provisioning from Vivantio to Okta
Step by Step Instructions
Within the Applications area of Okta, click 'Add Application', and search for Vivantio. Vivantio's provisioning app is named "Vivantio ITSM" - select it, and click Add: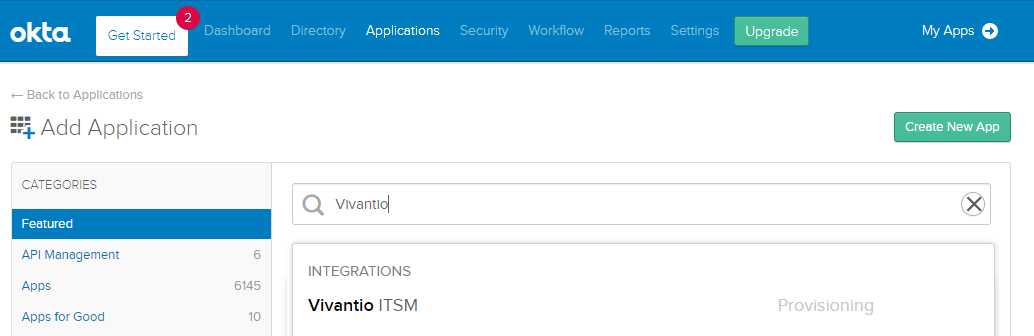
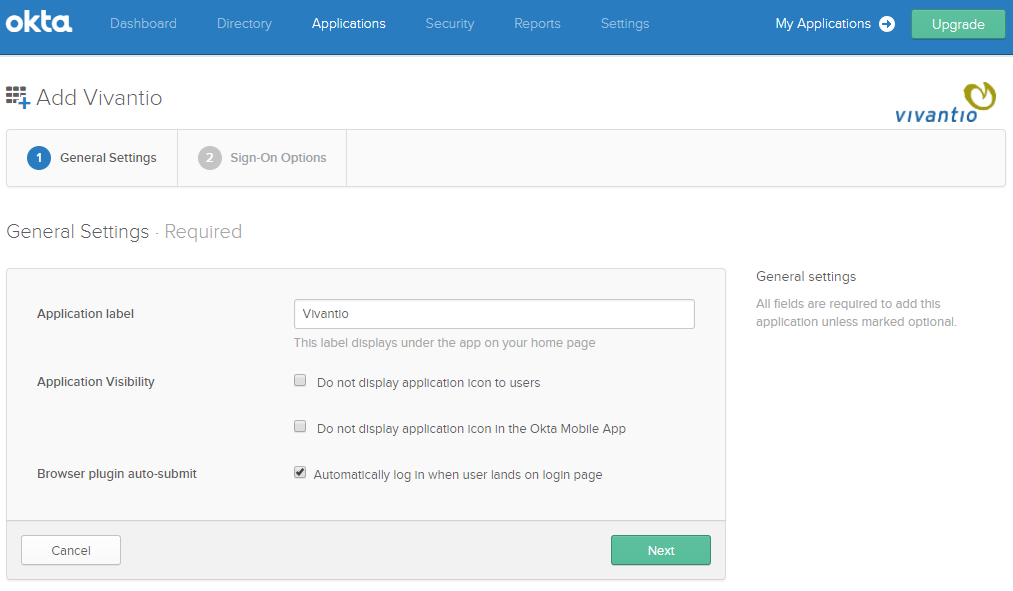
On the General Settings screen, leave the default settings as they are, and click the 'Next' button:
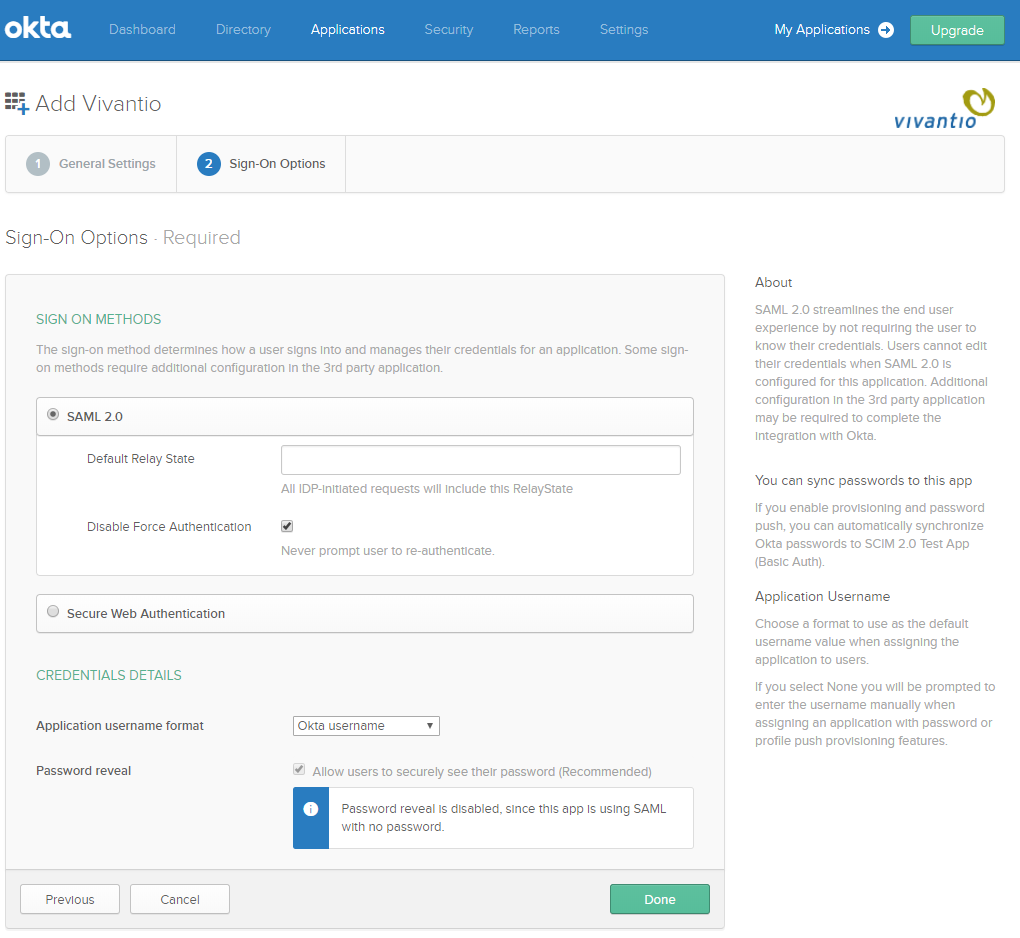
On the 'Sign-On Options' screen, leave the default settings as they are, and click 'Save' (these options are not used - Single Sign On is configured separately, please refer to Setting up Single Sign On with Okta):
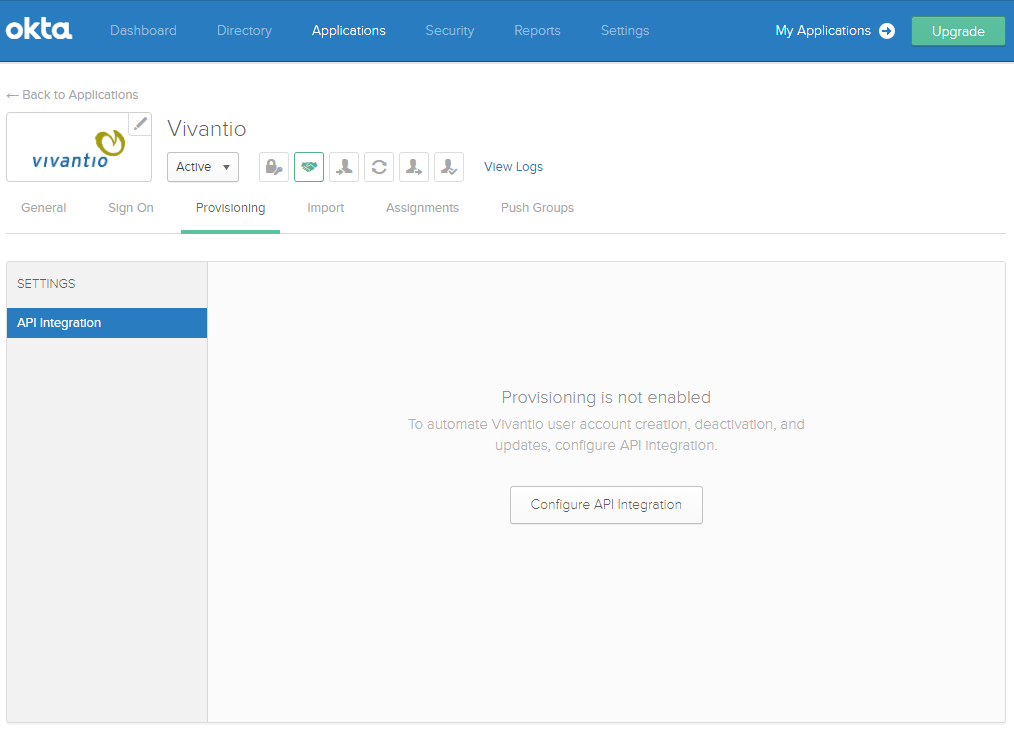
Click the 'Provisioning' tab, then click the 'Configure API Integration' button:
Check the 'Enable API Integration' box:
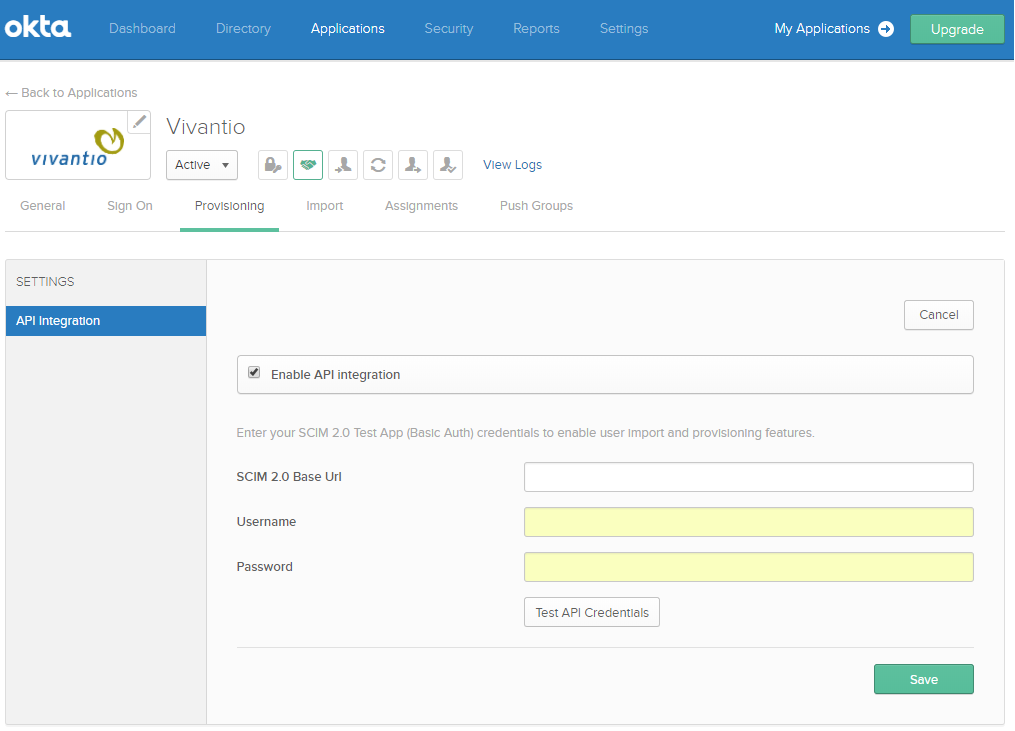
Enter the following details:
- SCIM 2.0 Base Url
https://webservices-na01.vivantio.com/scim/v2/ - Username / Password
Use your Vivantio API Credentials (these can be found in the Vivantio Admin Area under Integration & API » Downloads)

Click the 'Edit' button, then enable the options to 'Create Users', 'Update User Attributes', and 'Deactivate Users'; then click 'Save'.
Success! Okta Provisioning is now enabled!
If you run into any problems, please email our support team for further assistance.