Overview
The Integrated Services Component contains a task called Scheduled Export, this allows Vivantio data to be exported into your own database in SQL format. Each task is linked to an individual data table in Vivantio so you can export the data you need as regularly as you require. This is commonly used to provide data for an alternative reporting tool or to provide an onsite back up of your data.
Brief Instructions
- Install the ISC in a suitable location and register the Vivantio instance
- Create an SQL database to hold the exported data
- Create a Scheduled Export task for each table required (e.g. Ticket, Ticket History, Assets etc)
- (Optional) Schedule the exports to get regular data updates
Requirements
- A new sql database
- Details of the database connection string, more advice can be found here. (Please note this is a site external to Vivantio and Vivantio takes no responsibility for the content of the external site. Users use this site at their own risk).
Create a Scheduled Export task
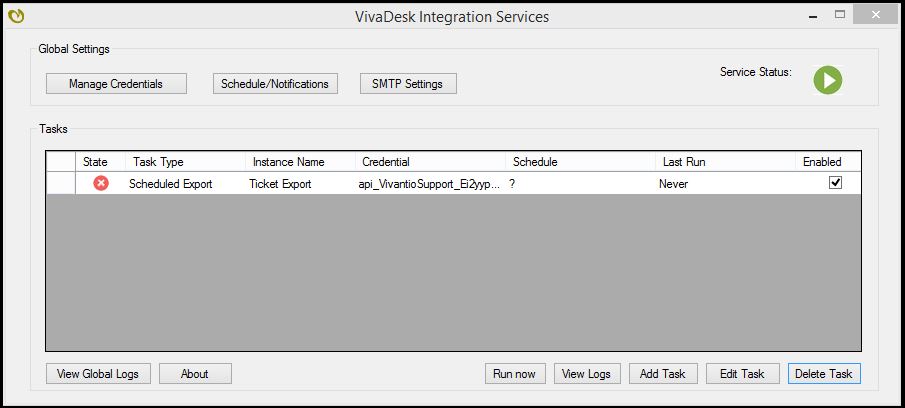
Open the Vivantio Integration Service
Click the button to Add a Task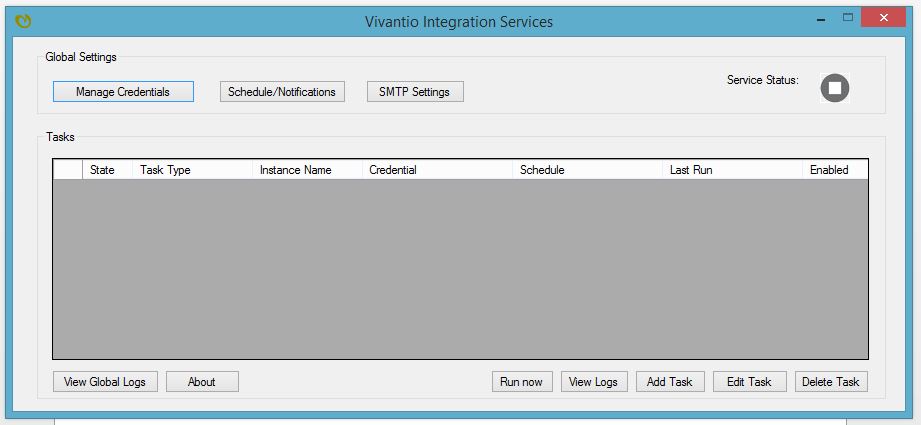
When the Add Task box appears, Select the Scheduled Export option from the drop down list and click OK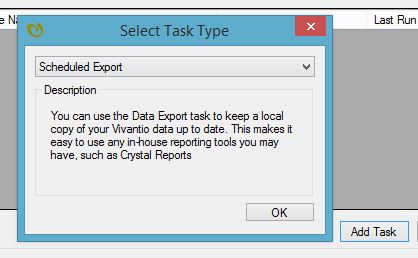
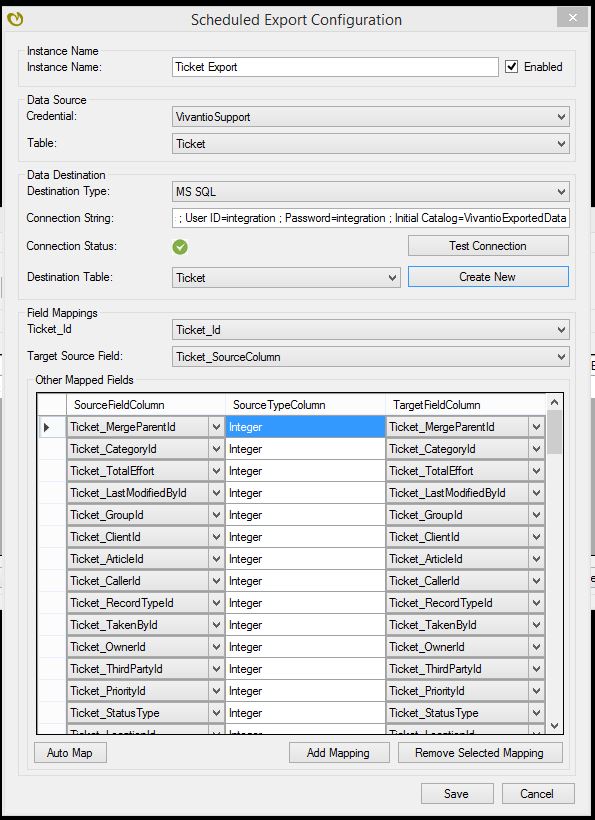
Add the credentials in to the Export Scheduler Configuration screen as shown in the screen shot below.
Enter the name of the Export task and tick the box to enable the Export (e.g. Ticket Export for the export of data from the Ticket table)
Choose the Data Source Credential from the drop down box based on the type of database you have set up to import the data into.
Choose a table to export from the drop down box, each table required needs to be created as a separate export
Select SQL from the Destination Type drop down, SQL is the only option available to you for exporting
Enter your connection string, the subject headers exist in the box to guide your requirements, more advice on how to set this up can be found here.
Click Test Connection to confirm the configuration entered so far is correct
Create a new Destination Table, e.g if you are creating a Ticket Export then enter the name 'Ticket' as shown in the screen shot
In the Field Mappings, select Auto Map in the bottom left hand corner of the screen, which will populate the box above the button
Click Save
Schedule the Exports
Schedule the Export from the main Task screen,
Select the required task
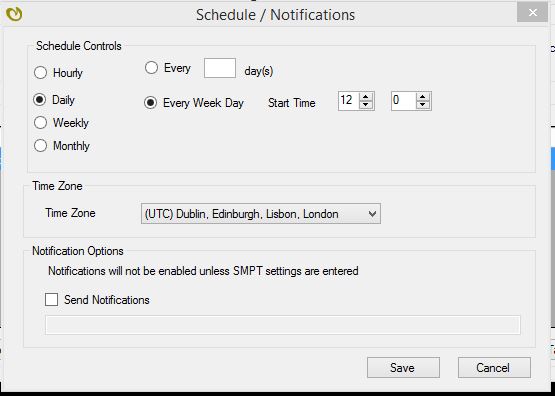
Select Schedule/Notifications
Select a suitable export schedule for your data.